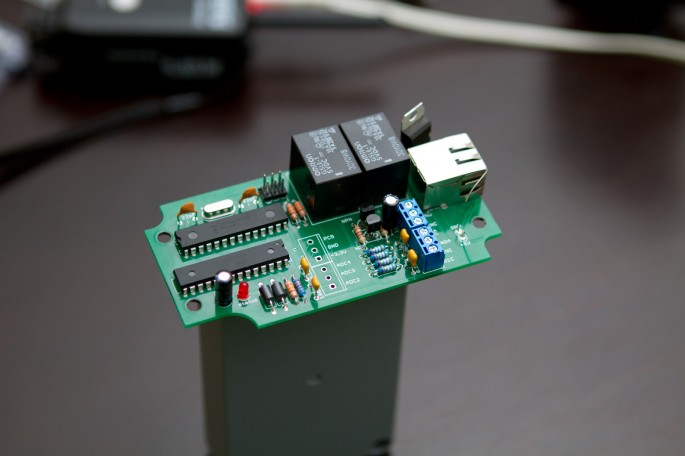
I just finished installing an electric opener on a big steel roll-up door so that we can park our car inside, away from the dirt and sun! But since it is an old industrial opener there was no way to open it remotely, like from inside the car. The photo above is my finished circuit board for controlling the door via ethernet.
It uses the MICROCHIP ENC28j60 Stand-alone Ethernet Controller. This project is an attempt to make a low-cost generic ethernet-attached relay box with a web interface. It will allow me to control physical devices from my iPhone or any internet connected device with a browser. It can control things like the garage door, air compressor, exhaust fans, or basically anything else that can be switched on and off.
Continue reading for all the details, photos, and a video of it in action!
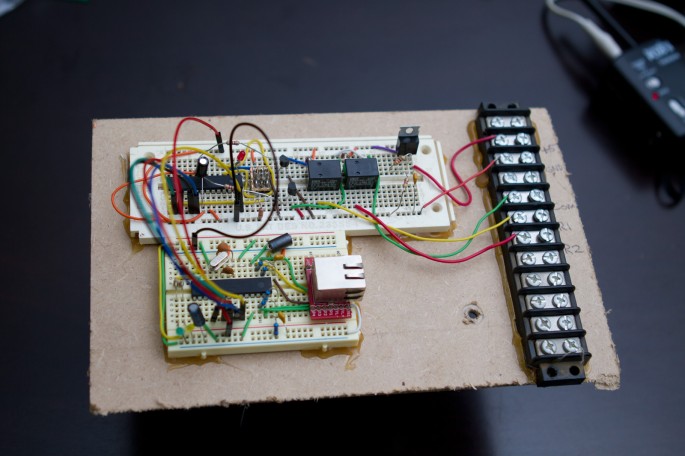
All of the ethernet functionality is handled by the ENC28j60 chip, which is controlled by an ATMEGA328. The AVR micro controller communicates with the ENC28j60 via a SPI connection. The device receives and responds to UDP packets that contain instructions such as ‘RELAY 1 ON’ or ‘RELAYS OFF’. Here is a photo of the working prototype:
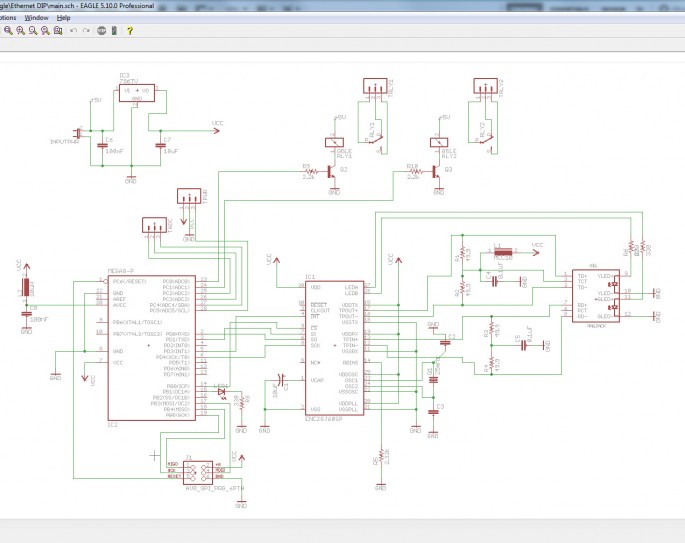
Once I had it working I built a schematic in Eagle. The component count is pretty low for a project like this, and Eagle already had every part I needed in it’s libraries.
From there I designed a board to fit inside of this box. I use Eagle 5.10 for designing schematics and boards, it tends to have most common parts in it’s library.
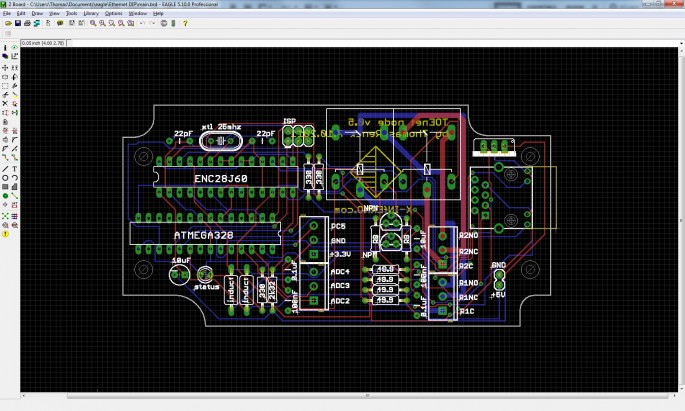
Once I had it all traced out I send it off to SparkFun’s BatchPCB. And then, we wait. It can take about four weeks from placing an order to delivery, which is scary when you don’t know if something is routed wrong. If it doesn’t work I’ll have to fix it and reorder, and wait another month to try again. What’s worse is that the mag-jack connection is pretty susceptible to magnetic interference so the only way to know if this particular routing configuration will work is to try it in real life. Here is the finished board, BatchPCB does a great job, they print some quality boards!
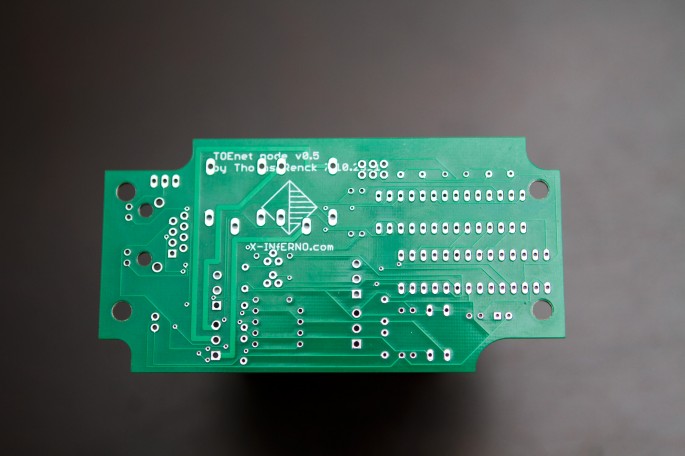
It’s an exciting day when a delivery from BatchPCB shows up! The boards look great. I blew it with the silkscreen on the bottom though, everything got covered by the big pads on the bottom.
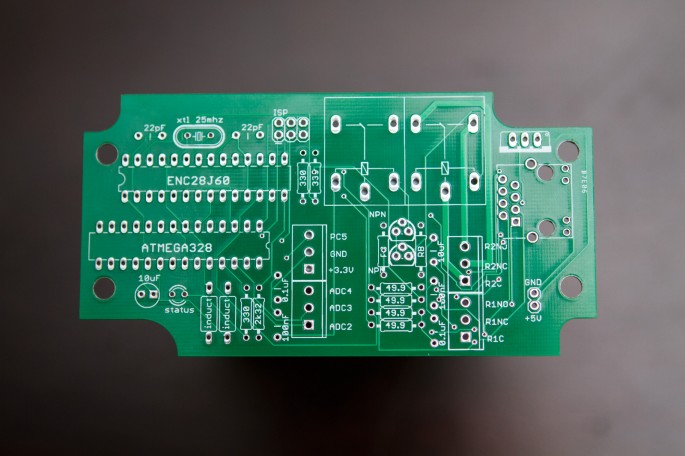
The top silkscreen turned out perfect though, all the labels and placement markers came out legible and unobstructed.
Above is the full parts list. It has every part listed, including the enclosure and the PCB. Forty dollars to build a single box isn’t so bad at all, considering the new Arduino Ethernet boards sell for $60 without an enclosure. All the listed prices are for a quantity of one, so producing these in numbers would drive the price way down.
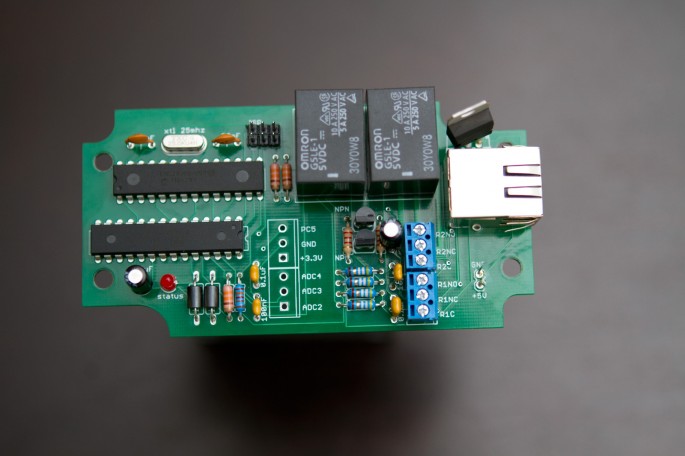
Here is the populated board! Didn’t take too long to solder up. I bought the wrong voltage regulators, the pinout is different, so it’s all sideways in the top right corner.
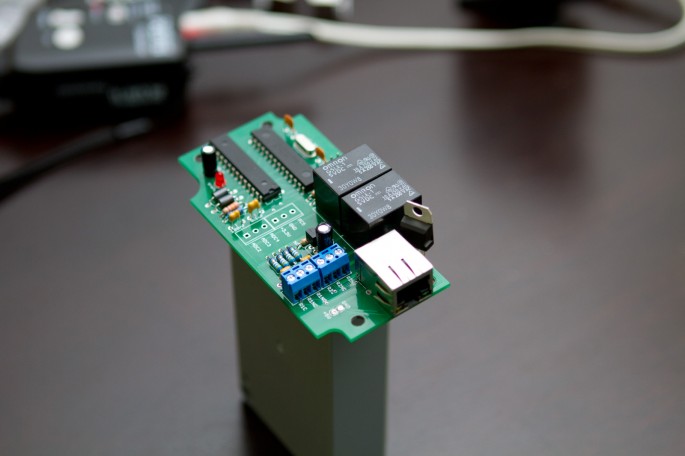
A photo showing off the MagJack ethernet port.
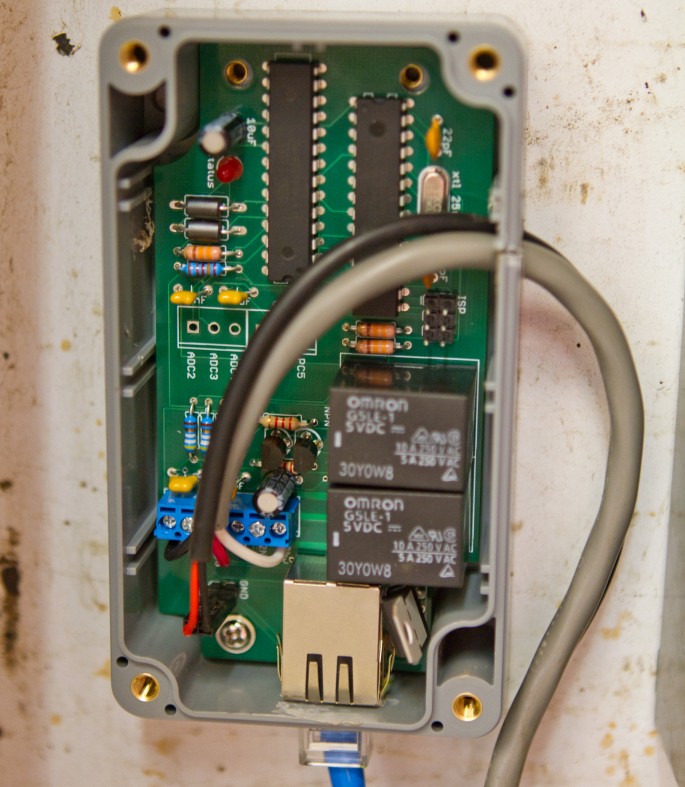
Here’s the board in the the bottom of the enclosure, I’ve wired up the relays to the electric door operator switches. One relay ‘presses’ the open button, the other ‘presses’ the close button.
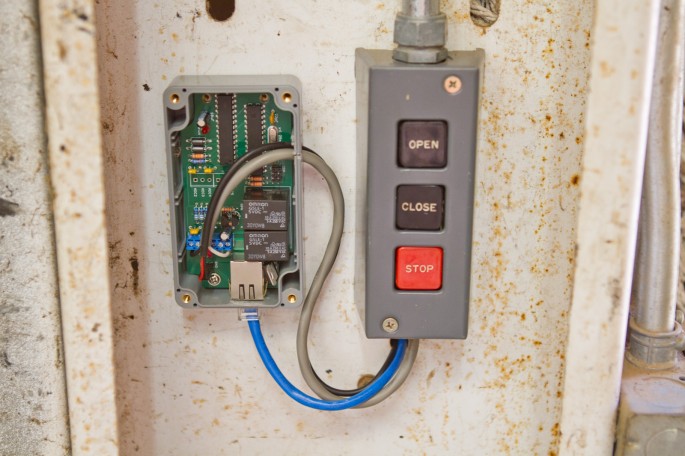
I just mounted it right next to the control buttons
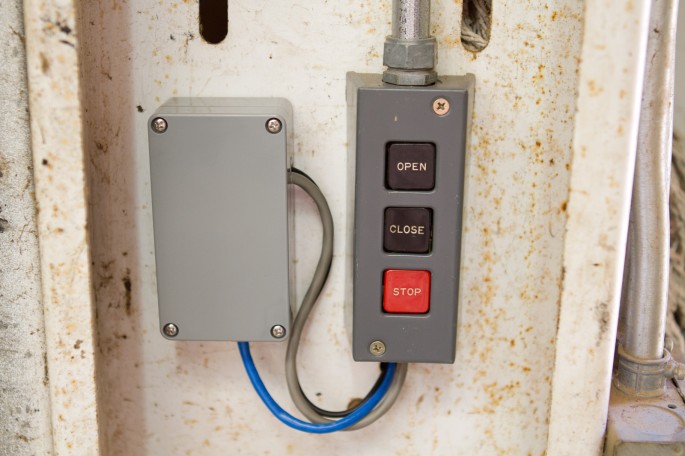
I’ve been using it daily, and it been working great! Check out this video of it in action where I open the door with my iPhone.
As you can see the controls are just on a webpage in the browser. That way I can get to them from any device or computer, LAN or WAN. Also notice the quick response time! It averages 50ms round trip, very snappy.
Thanks for checking out this post! Let me know what you think in the comments below!

