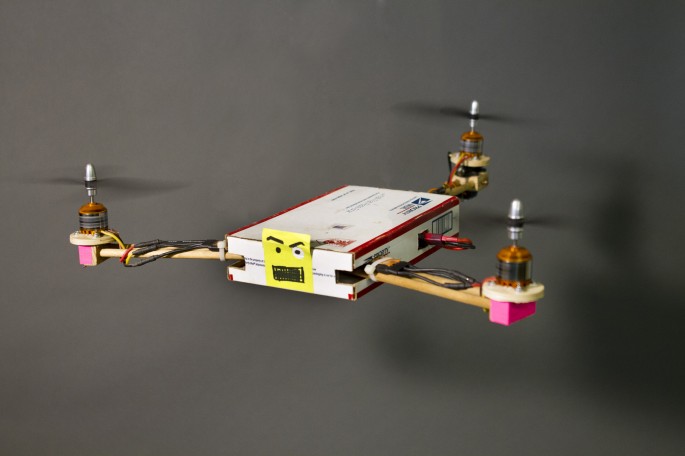
It was about a year and a half ago that I became interested in multirotor helicopters, around that time I set out to design and build my own basic tricopter. This series of posts will explore my journey of building, crashing, modifying, learning and iterating. The process has been exciting, I’ve learned a lot, and it’s become one of my longest running projects to date! Read on if you’re interested in multirotor, building things, or if you want to know what the heck the photo above is all about!
I’ve always had a love for remote controlled vehicles (as you may have noticed). I’d been watching as multirotors emerged and become feasible in the last couple years. One thing that’s so exciting about them is that the technology is so new (in the grand scheme of time) that even 4-5 years ago it was not possible for a device like this to work and maintain flight. The technology has matured so quickly that now this type of flying craft is becoming common and a part of everyday life.
Sometime in 2012 I stumbled upon this video, which shows off a simple and inexpensive tricopter made from wood and off-the-shelf parts. I had to make one.
Thus began my journey. It was all an experiment, I didn’t want to spend much money if it wasn’t going to work, so I decided to use what was around – some plywood and dowels.

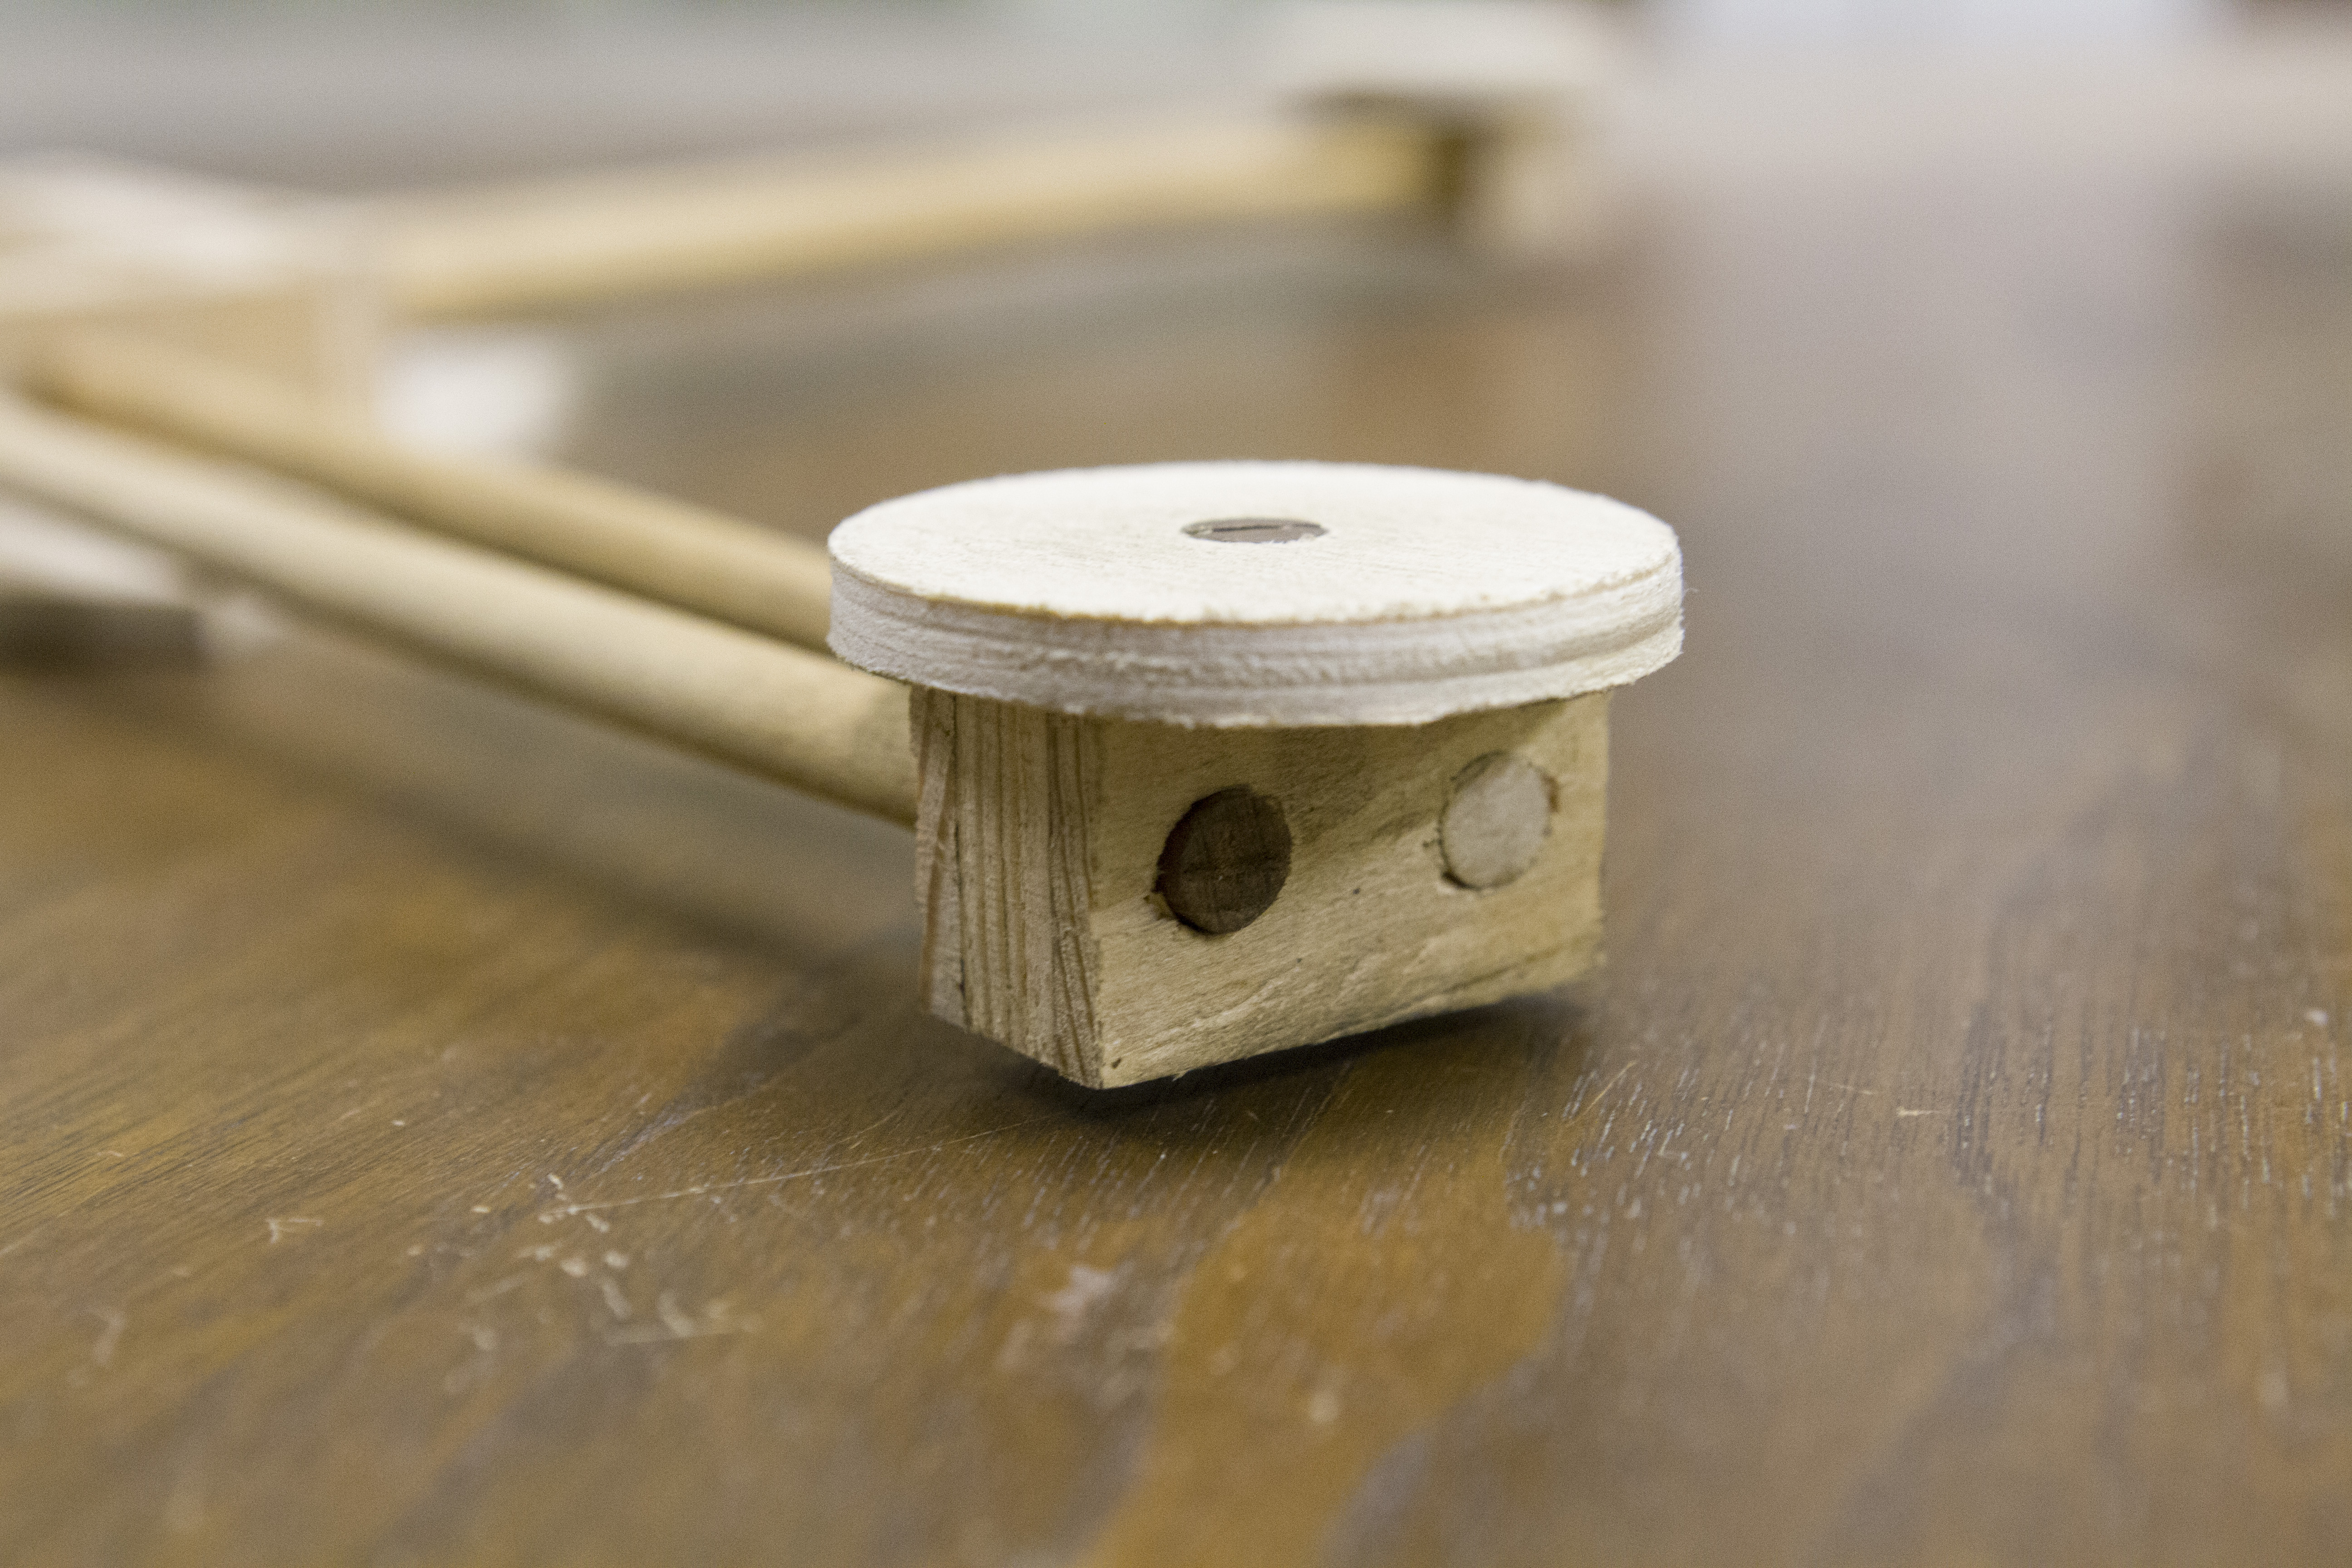
I didn’t know anything about how to design the frame at the time, I just started making with the idea that I’d work out any details after I’d proven it was even feasible. All the dowels are press fit into the plywood blocks, no glue or screws to mess with, this actually worked much better than I thought. Here’s one of the forward motor mounts:
Tricopters utilize a pivoting rear motor mount to maintain their yaw attitude (read: facing direction), this makes the rear mount a l0t more complicated than the forward ones, as it needs a servo and a mechanism to pivot on. Here’s what I came up with:
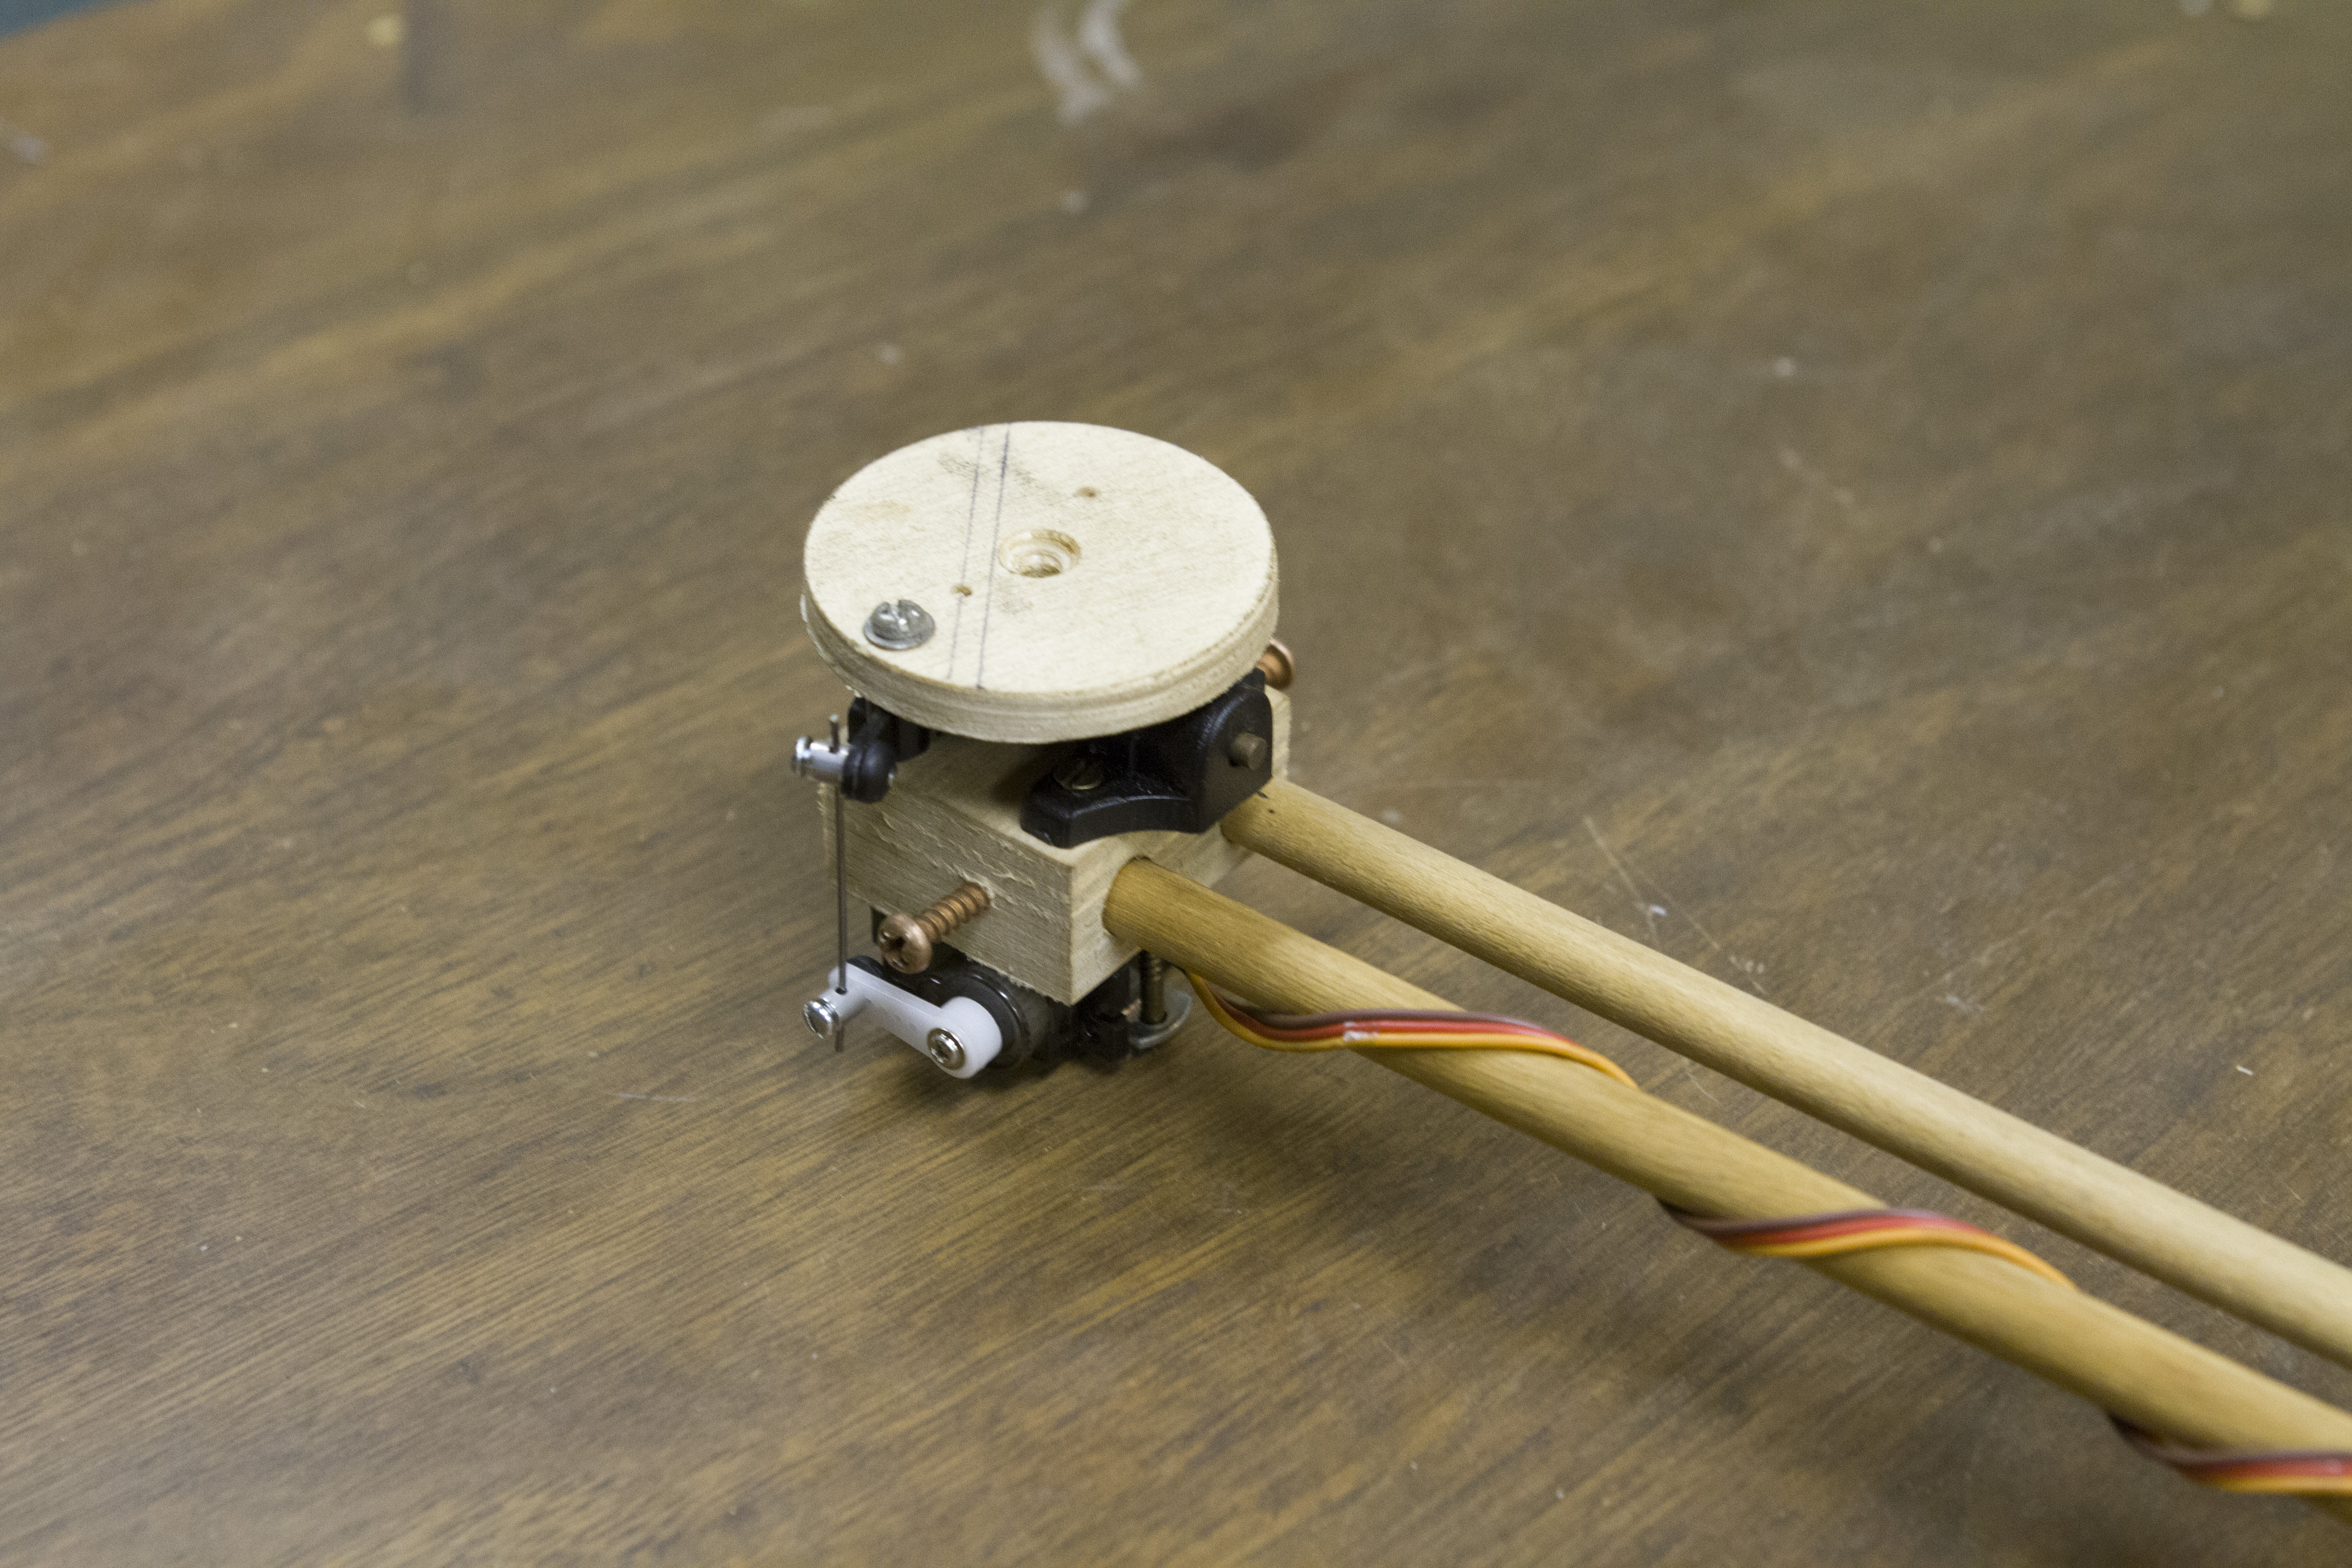
The servo is screwed into the plywood block using a couple long screws and a small piece of metal used as a strap. The pivoting mechanism uses a few pieces from an RC airplane front steering mount set (kind of like this). Simple but effective. Notice this block is not press-fit but held on to the dowels with two long screws coming out the sides. I wanted this whole assembly to be easily removable (more on this later).
With help from the video posted above, I was able to figure out what parts I needed to order to get this thing in the air. Here’s the basics (note that this list is far out-dated, so don’t use these!)
- 1x HobbyKing Multi-Rotor Control Board V3.0 (The brain) $20
- 3x D2830-11 1000kv Brushless Motor (The motors) $10/each
- 3x Hobbyking SS Series 18-20A ESC (One speed controller for each motor) $8/each
- 1x 8045 SF Props (Propellers) ~$3
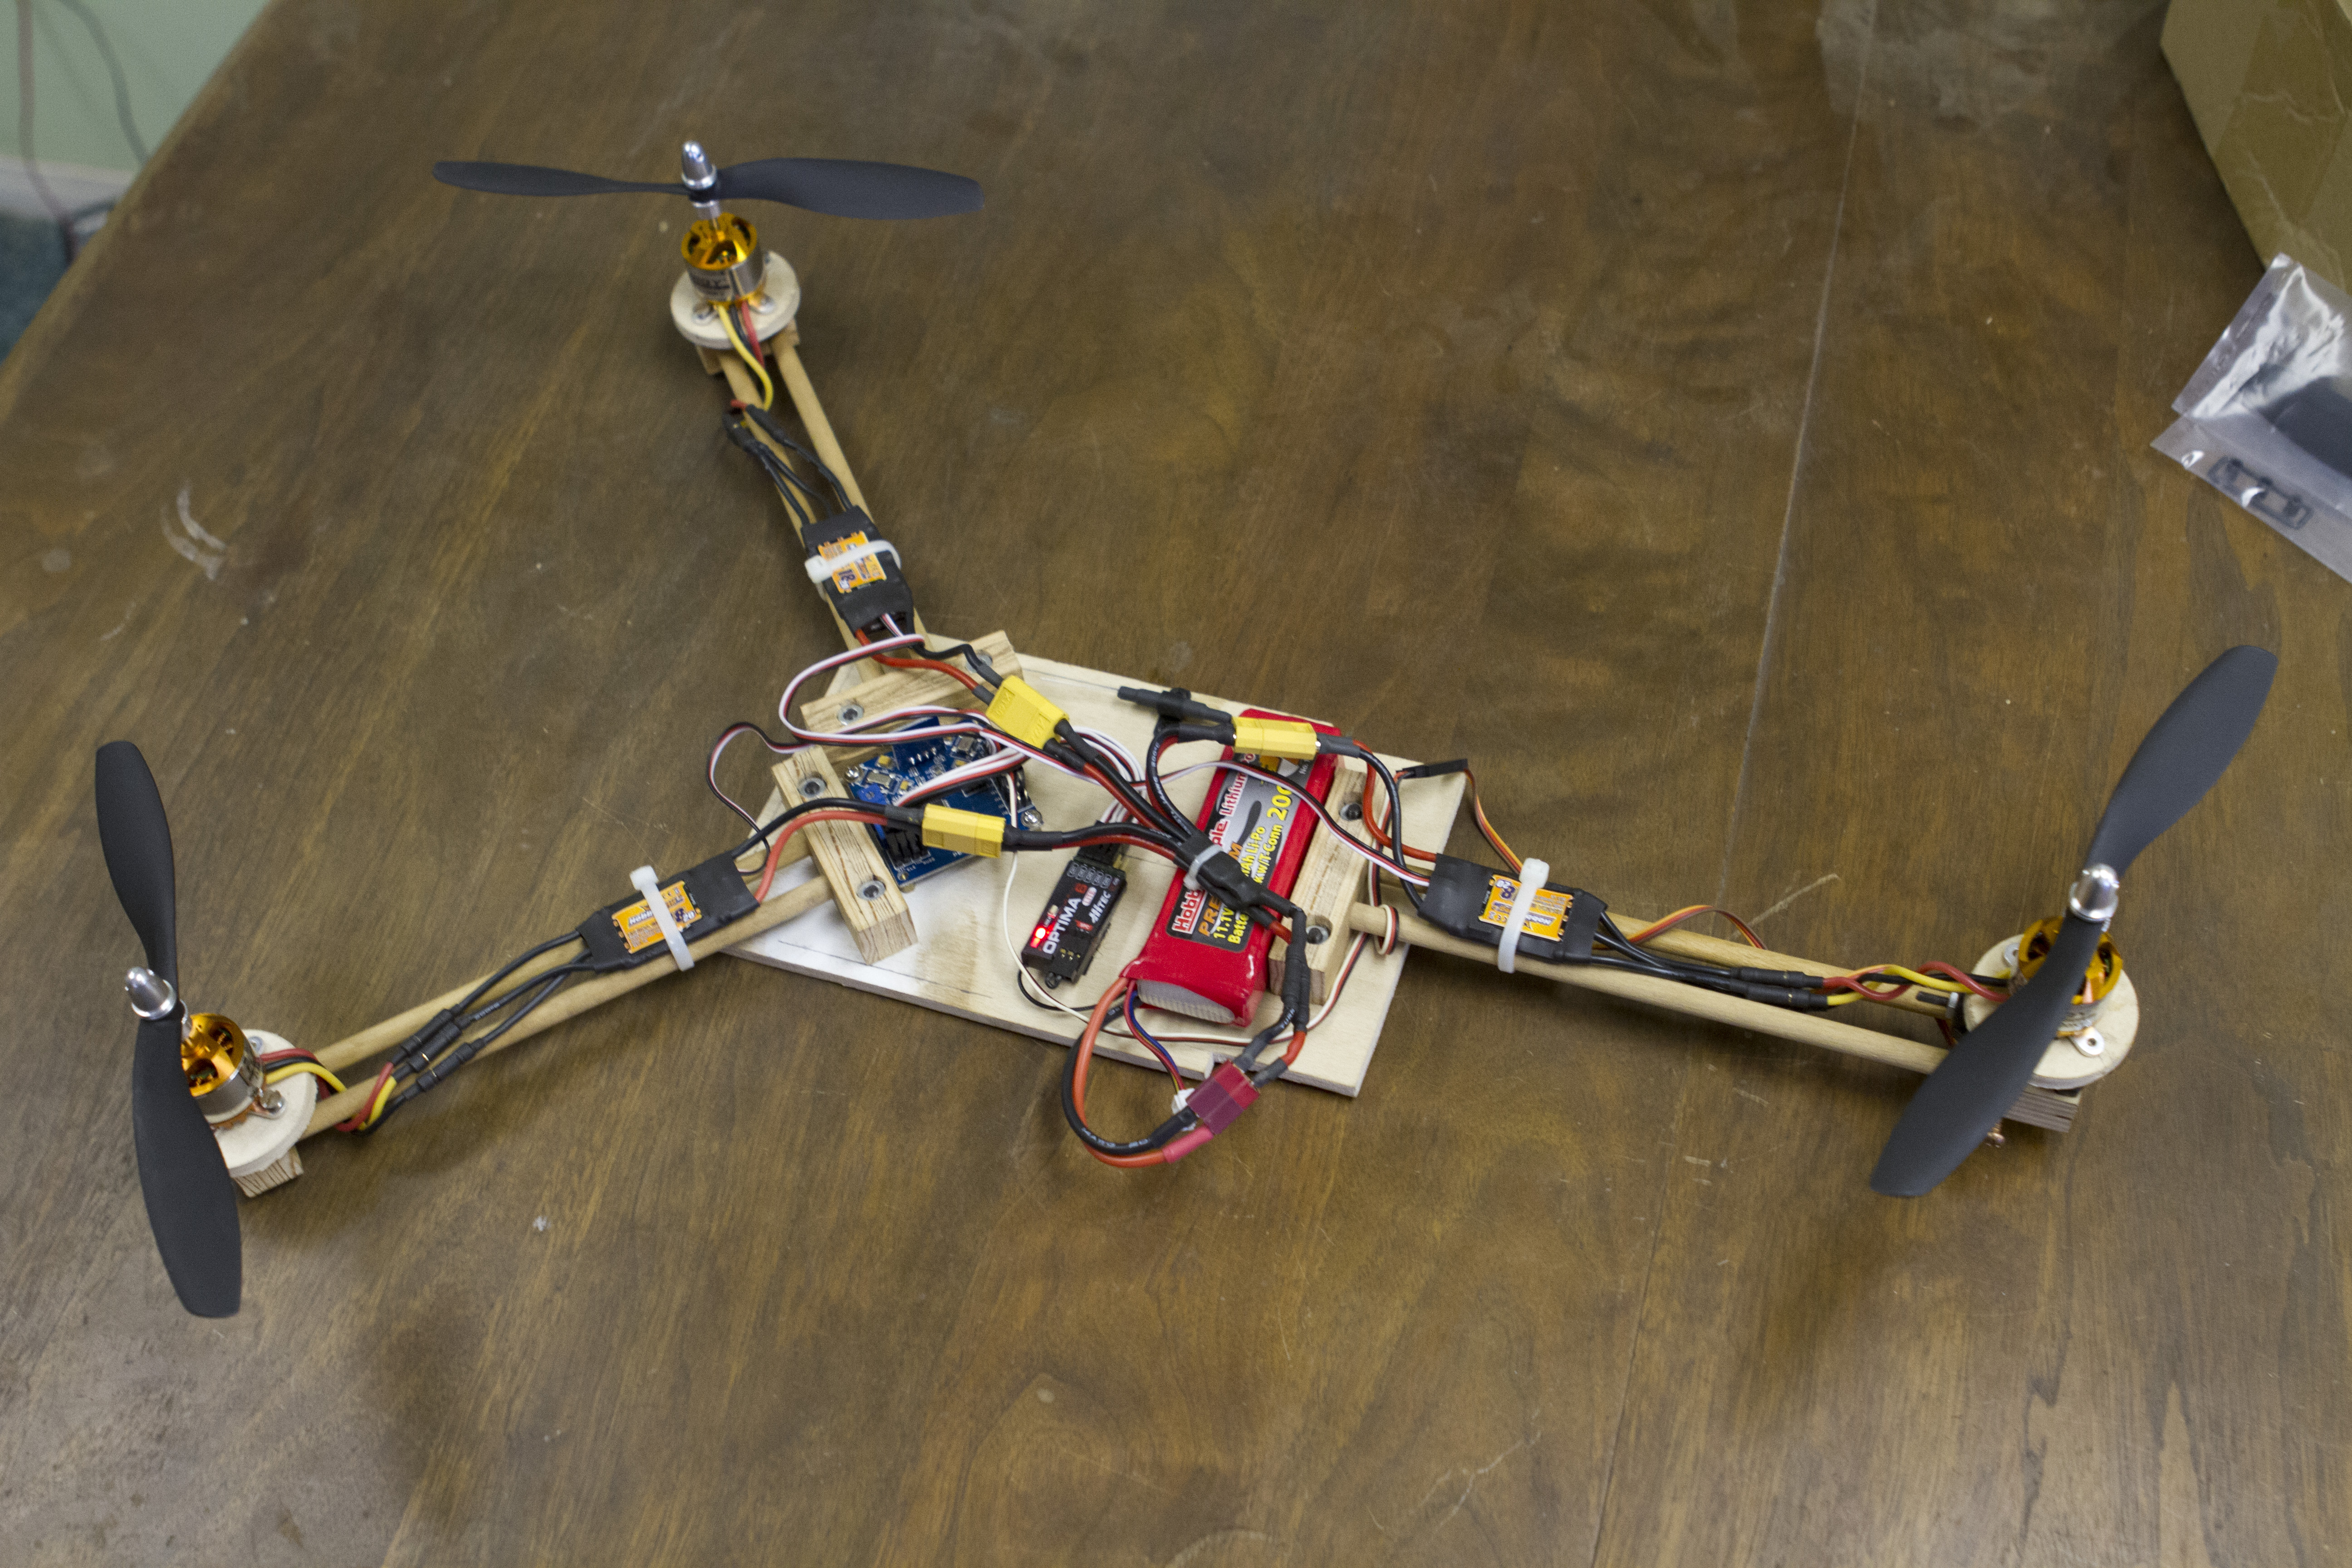
It was a good day when this package finally arrived from Hong Kong. Here you can see some of the parts in place:
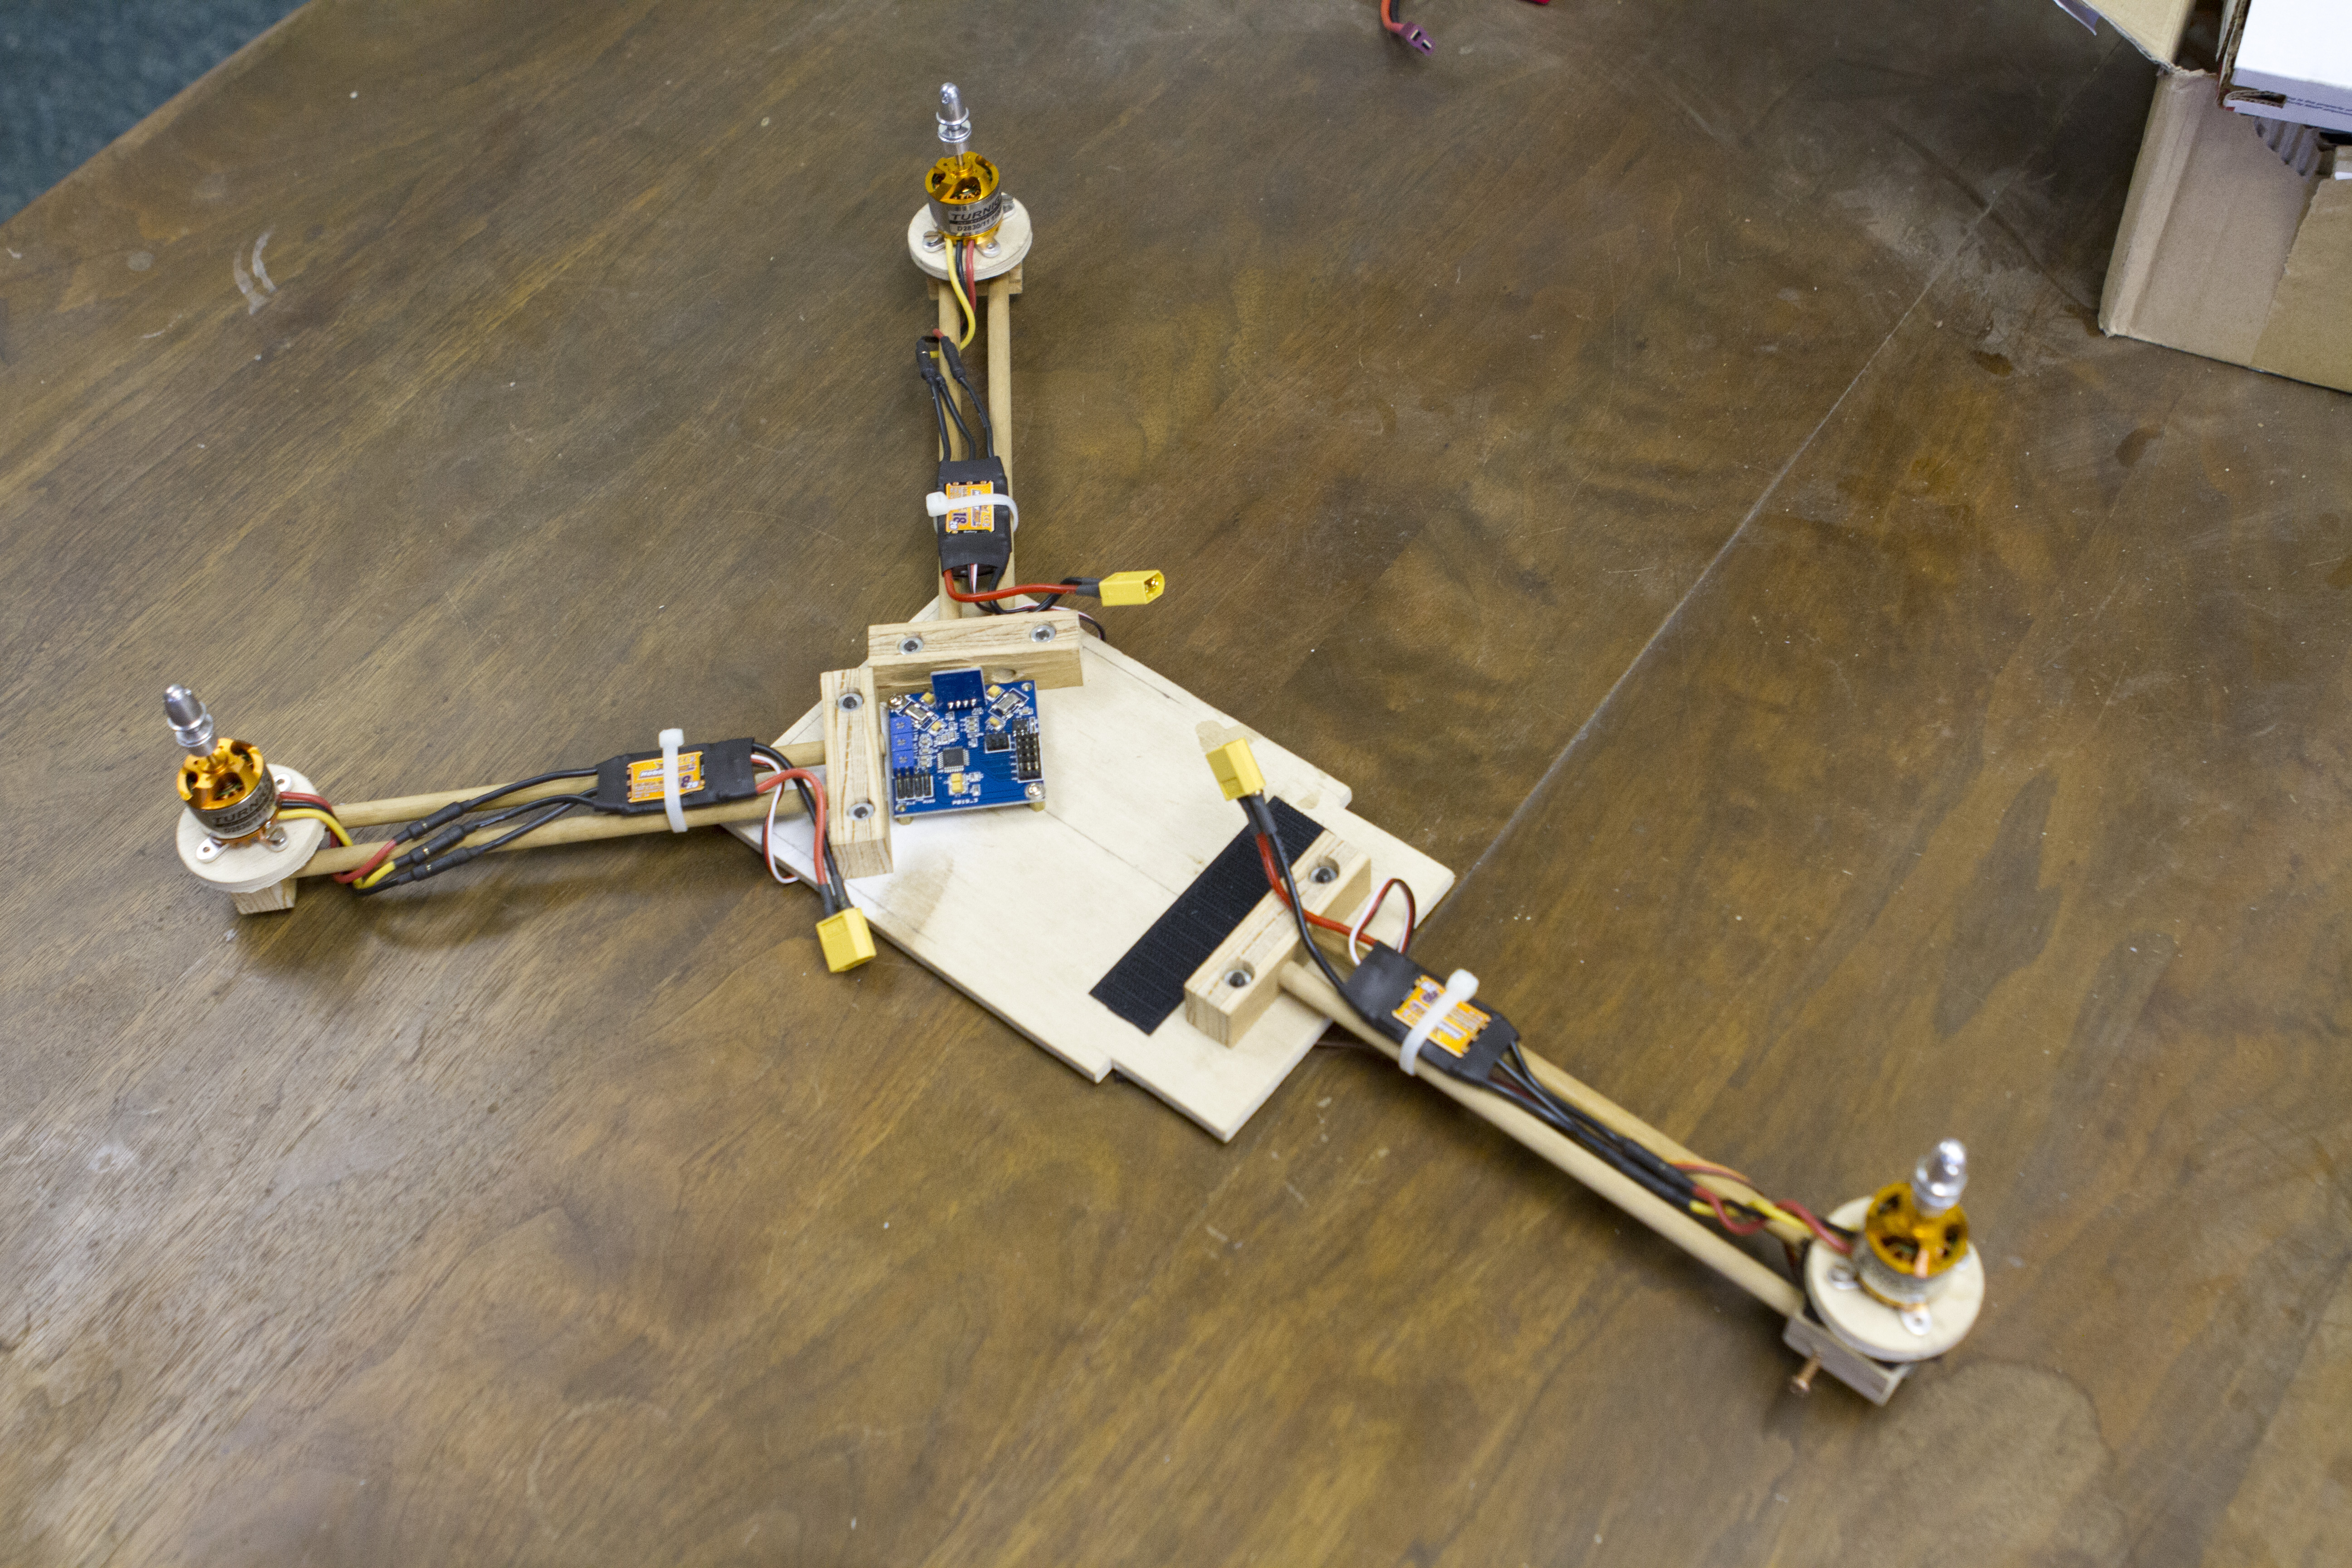
I knew the weight needed to be centered between the rotors, and it just worked out that with a 2200mAh 3s battery mounted up against the rear motor block it was nice and balanced. Here’s everything just about ready to fly:
Now comes the fun part! Does it actually work? How to test fly it without completely destroying it? It didn’t help that I had no experience flying multirotors. At this point a friend and I decided we needed to design a safety harness to try to avoid crashing while we worked out the bugs and got some practice flying. This was the best decision we made and it saved this project multiple times. The idea was simple, tie a harness of string around the copter and up around a pulley on the ceiling and have one person take up the slack while another tried to fly. Here, check it out for yourself:
It flies! For the most part at least, and that’s a good start. After a couple days of test flights tied to the ceiling we had it dialed in pretty well, and ready for the next big adventure – outdoors!
That’s it for Tricopter Part I, stick around for Part II which will showcase the first un-teathered outdoor flights as well as the next design iteration. Part II will be posted soon!
P.S. Why is the tricopter in the cover photo in a USPS flat-rate postage box? Because I wanted it to be a spiritual successor to the USPS propeller robot I built a couple years ago. I designed the frame to slip right in, and this is why I designed the rear motor block to be removable – this made it easier to get in the box! Thanks for reading, be sure to leave a comment or question!